Scene 1 (0s)
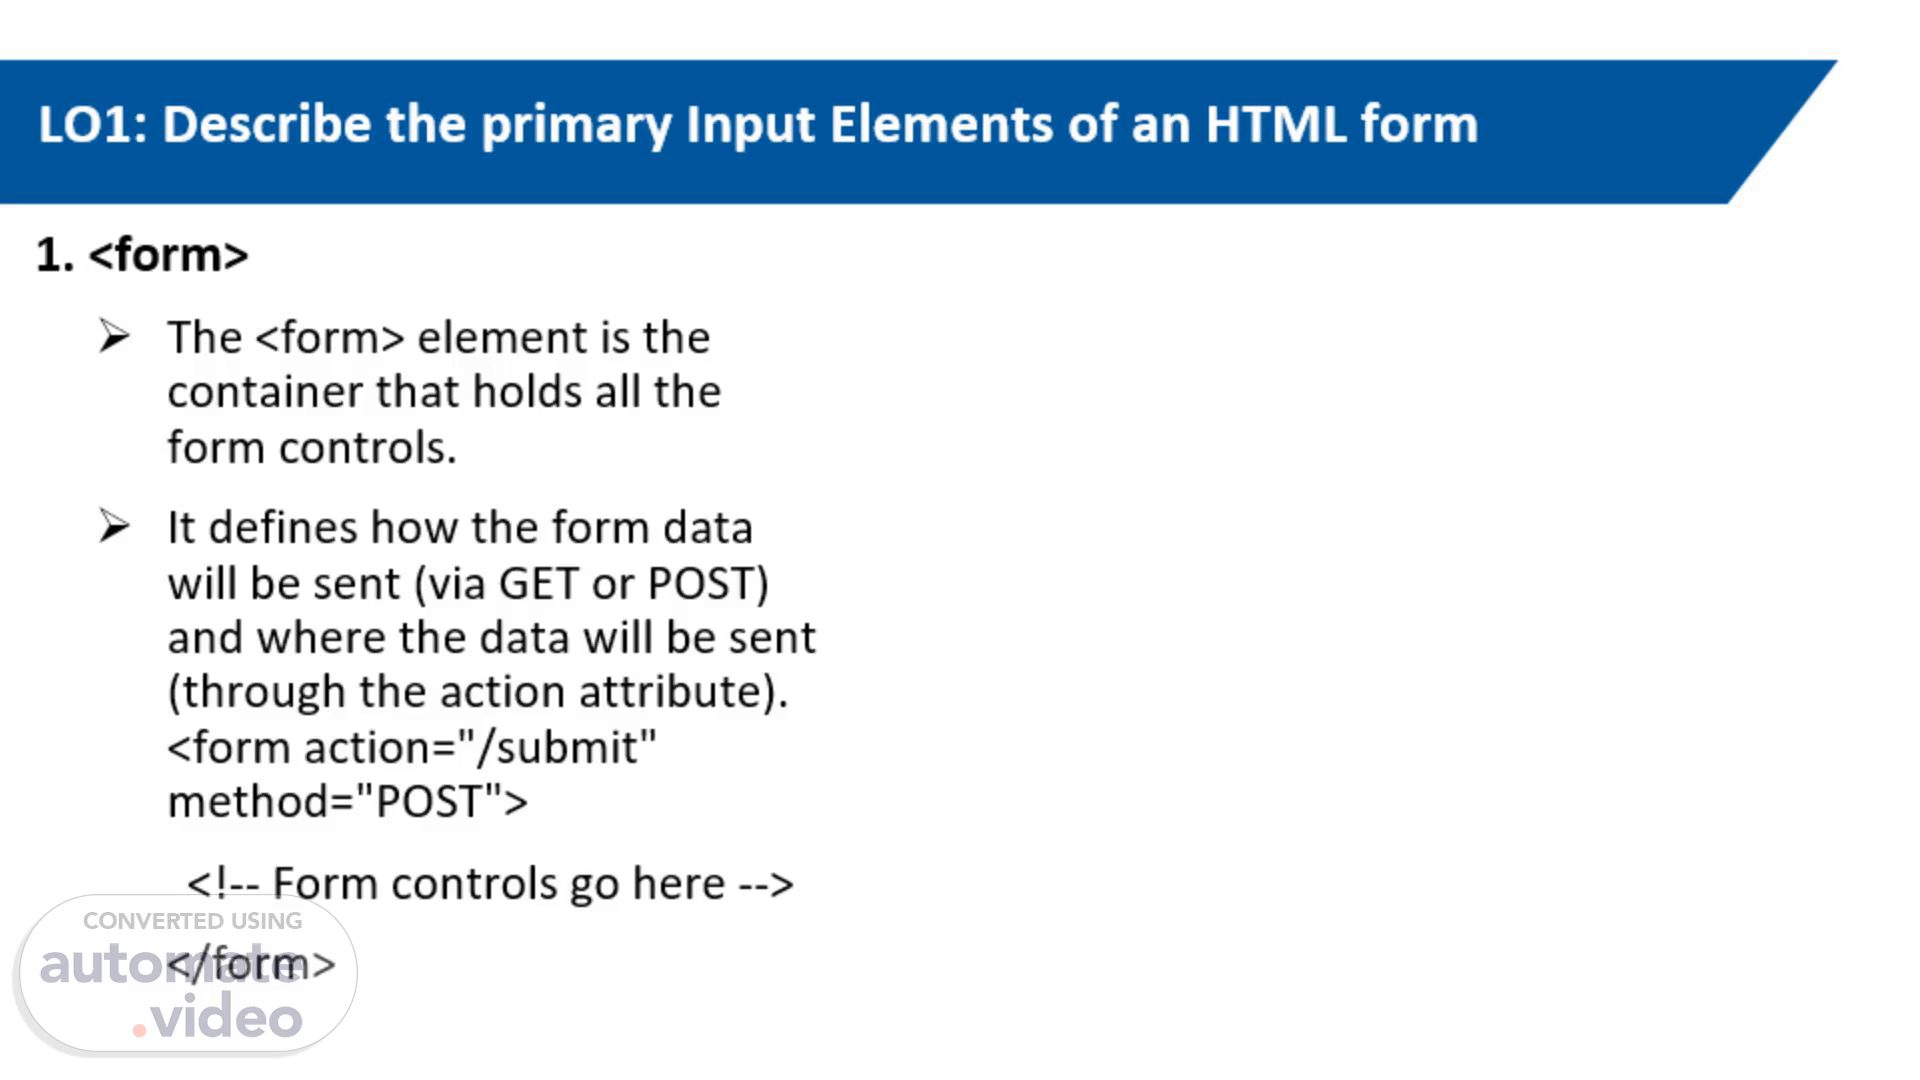
[Audio] The element is a critical part of HTML used for collecting user input. It acts as a container for various form controls like text inputs, buttons, checkboxes, and more. The key aspects of the element are its action and method attributes, which determine how and where the form data is sent. Key Features: action Attribute: Specifies the URL where the form data will be sent upon submission. method Attribute: Determines the HTTP method used to send the form data: GET: Appends data to the URL in name/value pairs. POST: Sends data as a request body, typically used for sensitive or large data. Form Controls: : Associates text with an input field, enhancing accessibility. : Collects user data. Its type can vary (text, email, password, etc.). Submit Button: Triggers the form submission when clicked. In this example, a simple contact form collects the user's name and email address, and then submits the data to /submit-contact using the POST method. <!DOCTYPE html>: This tells the browser that the file is an HTML document. HTML Structure: : The starting point of the HTML document. Everything is written inside this tag. : Contains information about the page (like its title and meta information) but isn't displayed on the page itself. : This is where the content of the web page goes—the part the user sees. Inside : : Ensures the text on the page is displayed correctly (like special characters). : Sets the title of the page (what appears in the browser tab). Here, the title is "Basic Contact Form." Inside : Contact Us: This is a heading on the page that says "Contact Us." The Form: : This creates the form. action="/submit-contact": Tells the browser where to send the form data when the user clicks the submit button. The data will go to /submit-contact (a backend server or script). method="post": Tells the browser to send the data securely as part of the request body (not visible in the URL). Form Fields: Name Field: Name:: A label that says "Name" and connects to the input field below it (using for="name"). : A text box where users can type their name. type="text" means it accepts plain text. id="name" helps identify this field in the document. name="name" gives the field a name to send its value when the form is submitted. Email Field: Email:: A label that says "Email" and connects to the input field below it. : A text box specifically for email addresses. type="email" ensures only a valid email address is entered. id="email" and name="email" work the same way as in the name field. Submit Button: : A button that sends the form data when clicked. type="submit" means it will submit the form. value="Submit" sets the text on the button to "Submit.".
Scene 2 (3m 24s)
[Audio] The `` element is a fundamental component of HTML forms and is the most commonly utilized form element due to its versatility. It comes in various types, each designed to accept specific kinds of user input. Here are some of the most frequently used types:- type="text" : This allows users to enter single-line text, making it ideal for fields like names or search queries.- type="password" : This variant masks the input to ensure that sensitive information, such as passwords, remains confidential and secure.- type="email" : This type is specially formatted to accept email addresses, providing validation to ensure users correctly enter their email information.- type="checkbox" : This option enables users to select one or more choices from a set of options, allowing for multiple selections.- type="radio" : This type is used for single-choice selections, where users can choose only one option from a predefined group.- type="submit" : This button type triggers the submission of the form, sending the entered data to the server for processing. Each type of `` serves a distinct purpose, enhancing user interaction and ensuring that data is collected efficiently and accurately..
Scene 3 (4m 47s)
[Audio] This example demonstrates a simple HTML form with text input and a submit button. Let me explain the code in detail: HTML Structure: <!DOCTYPE html>: Indicates that the document is written in HTML. : The root tag for the HTML document. : Contains meta-information about the document (not shown on the page). : Ensures proper text encoding. Basic Text Input: Sets the browser tab title. : Holds the content visible to the user. Heading: Basic Text Input: A heading that describes the form. The Form: : Contains all the form controls (input fields and buttons). Forms are used to collect and send user data to a server. Label and Input Field: Label: Enter your name:: Displays "Enter your name:" next to the input field and associates it with the input using the for attribute. Input Field: : type="text": Specifies a single-line text box. id="name": A unique identifier for the input. name="name": Used to identify the input data when the form is submitted. placeholder="Your Name": Shows greyed-out text inside the input box to guide users. Submit Button: : type="submit": Indicates the button submits the form. value="Submit": Specifies the text displayed on the button..
Scene 4 (6m 18s)
[Audio] The `` element plays a crucial role in web accessibility by creating a strong connection between a piece of text and a specific form control, such as an input field, checkbox, or radio button. This association is beneficial not only for visually impaired users who rely on screen readers but also for all users interacting with the form.When a `` is correctly linked to a form control using the `for` attribute (which matches the `id` of the corresponding input), it allows users to click on the label itself to activate or focus on the form element. For example, if a `` says "Email" and is linked to an email input box, clicking on the word "Email" will automatically place the cursor in the input field, making the form more intuitive and user-friendly.This functionality enhances the usability of forms, reduces the chance of user error, and provides a clearer context for what information is being requested, leading to a more efficient and accessible experience for everyone filling out forms online. Overall, utilizing `` elements correctly is a best practice in web design that significantly improves accessibility and user interaction. This example demonstrates a simple Signup Form using labels and input fields for a username and email address. Here's a breakdown of the HTML code: HTML Structure: <!DOCTYPE html>: Indicates that the document is an HTML5 document. : Declares the language of the document as English. : Contains meta information and the title of the webpage. : Sets character encoding to UTF-8. Label with Text Input: The title that appears in the browser tab. : Holds the content visible to users. Heading: Signup Form: A title to let users know the purpose of the form. Form: : Starts the signup form that groups related input elements. Label and Input for Username: Username:: Displays the label "Username" for the input field below it. The for attribute links the label to the input field with the same id value (username). : Creates a text input field where the user can type their username. The placeholder displays a light grey hint: "Enter your username." Label and Input for Email: Email:: Displays the label "Email" for the input field below it. The for attribute links the label to the input field with the same id value (email). : Creates an input field specifically for email addresses. The type="email" ensures the input is in the correct email format. The placeholder provides a hint: "Enter your email." Submit Button: : A button labeled "Sign Up" that submits the form data. What Happens When You Use It: Users see a Signup Form with fields to enter a username and an email address. They can type their information into the fields. The Submit button sends the form data (username and email) for processing..
Scene 5 (9m 24s)
[Audio] The provided code creates a dropdown list using HTML. Here's a simple breakdown:1. Label : The `` element associates a text label ("Country:") with the dropdown menu, improving accessibility.2. Dropdown List : The `` element defines the dropdown menu. The `id` attribute links the label to the dropdown, and the `name` attribute assigns a name to the selected value when the form is submitted.3. Options : Inside the ``, there are three `` elements, each representing a different choice (USA, Canada, UK). Each option has a `value` attribute that specifies what value is sent when the form is submitted. When a user clicks on the dropdown, they can choose one of the options provided..
Scene 6 (10m 20s)
[Audio] The `` element is a versatile HTML component specifically designed for capturing multi-line text input from users. It is especially useful in scenarios where detailed responses are required, such as collecting comments, submitting feedback, or allowing users to elaborate on their thoughts. In the example below, we have a labeled area where users can provide their comments:Comments:This specific `` is configured to display 4 visible rows and 50 columns, offering a generous space for users to type their responses comfortably. The inclusion of a placeholder text serves as a prompt, guiding users on what type of information they can input. Such a setup enhances user experience by making it straightforward for individuals to express themselves in a clear and organized manner. This example demonstrates a simple "Leave a Comment" form that uses a element for multi-line input. Here's a breakdown of the code: HTML Structure: <!DOCTYPE html>: Declares the document as an HTML5 file. : Indicates the language is English. : Contains metadata and the title of the page. : Ensures text is properly encoded using UTF-8. Basic Textarea for Comments: The text that appears on the browser tab. : Contains all visible content on the webpage. Heading: Leave a Comment: Displays a heading above the form. Form: : Groups related input elements for user interaction. Label for Comments: Your Comment:: This text label is linked to the using the for attribute. The for value matches the id of the element, ensuring accessibility and clarity. Textarea for Multi-line Input: : The tag creates a box where users can input multiple lines of text (ideal for comments or feedback). Attributes: id="comments": Unique identifier for the . name="comments": Used to reference this field in form processing. rows="5": Sets the height of the box to 5 lines. cols="40": Sets the width of the box to approximately 40 characters. placeholder="Enter your comment here...": Displays a grey hint text inside the box. Submit Button: : A button labeled "Submit" that sends the form data for processing..
Scene 7 (12m 52s)
[Audio] Congratulations on successfully completing Learning Objective 1 (LO1)! In this objective, you explored and described the primary input elements that make up an HTML form. This foundational knowledge is essential for creating web forms that efficiently collect user data. As you move forward, get ready for Learning Objective 2 (LO2). In this upcoming section, you will dive deeper into the concept of functional forms and examine various input types. This will involve discussing how different input types can enhance the user experience and facilitate more effective data collection. Stay tuned for more engaging insights!.